AI Image Editor

Type the change. Compare before and after.
Describe the edit in plain words and the AI image editor does the rest: remove objects, swap backgrounds, restyle a photo, or regrade its colors. Every result comes back on a before-and-after slider, so you judge the edit before you use it.
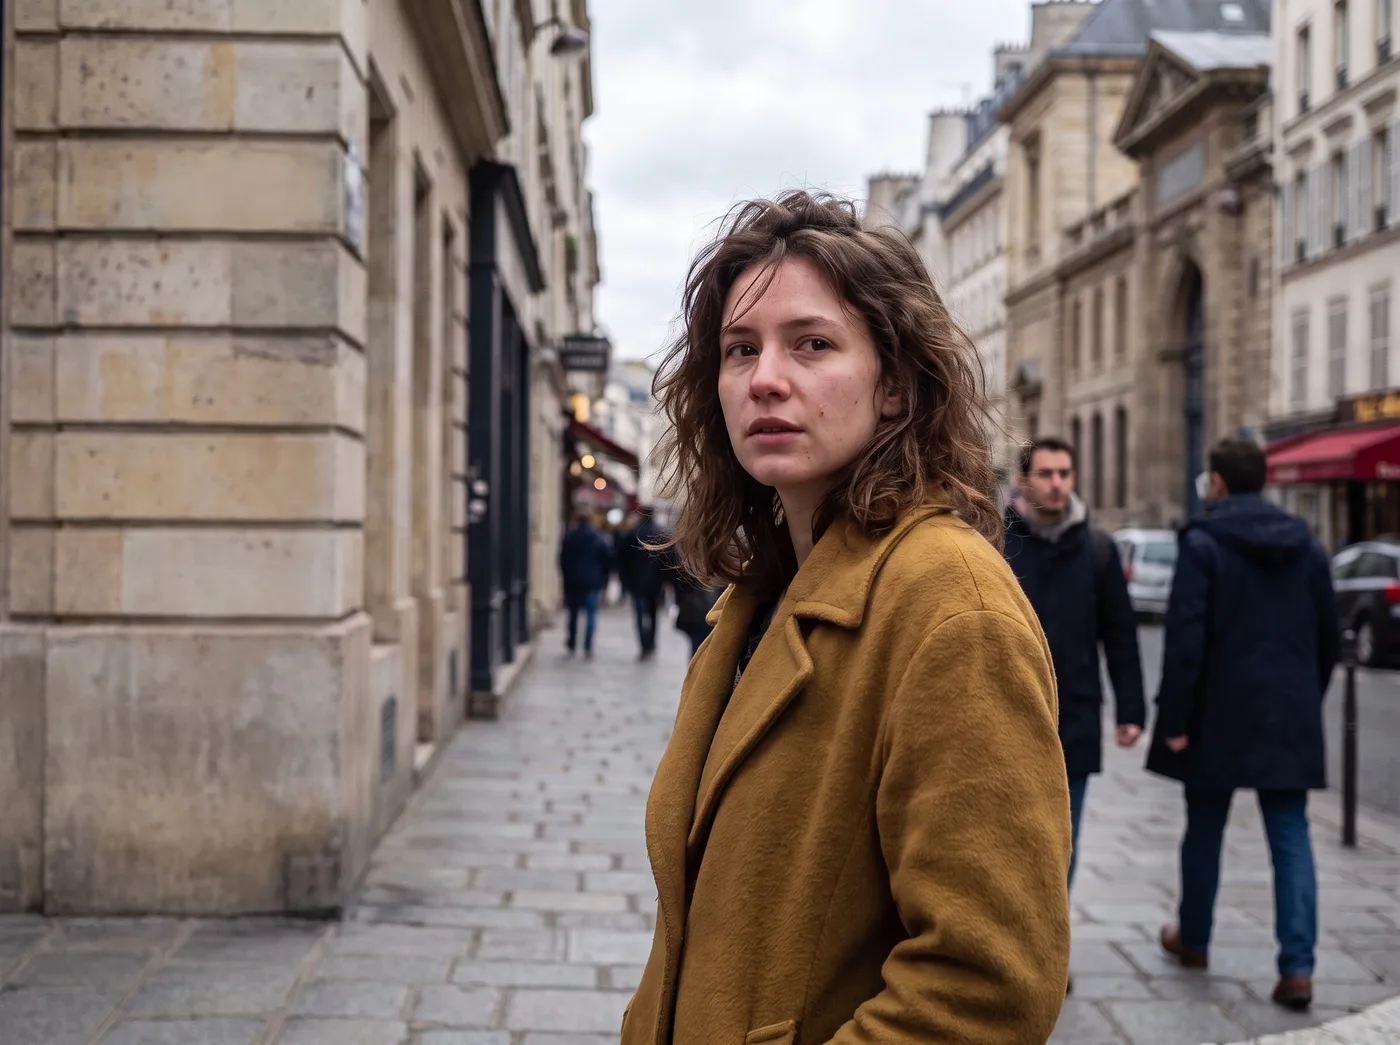
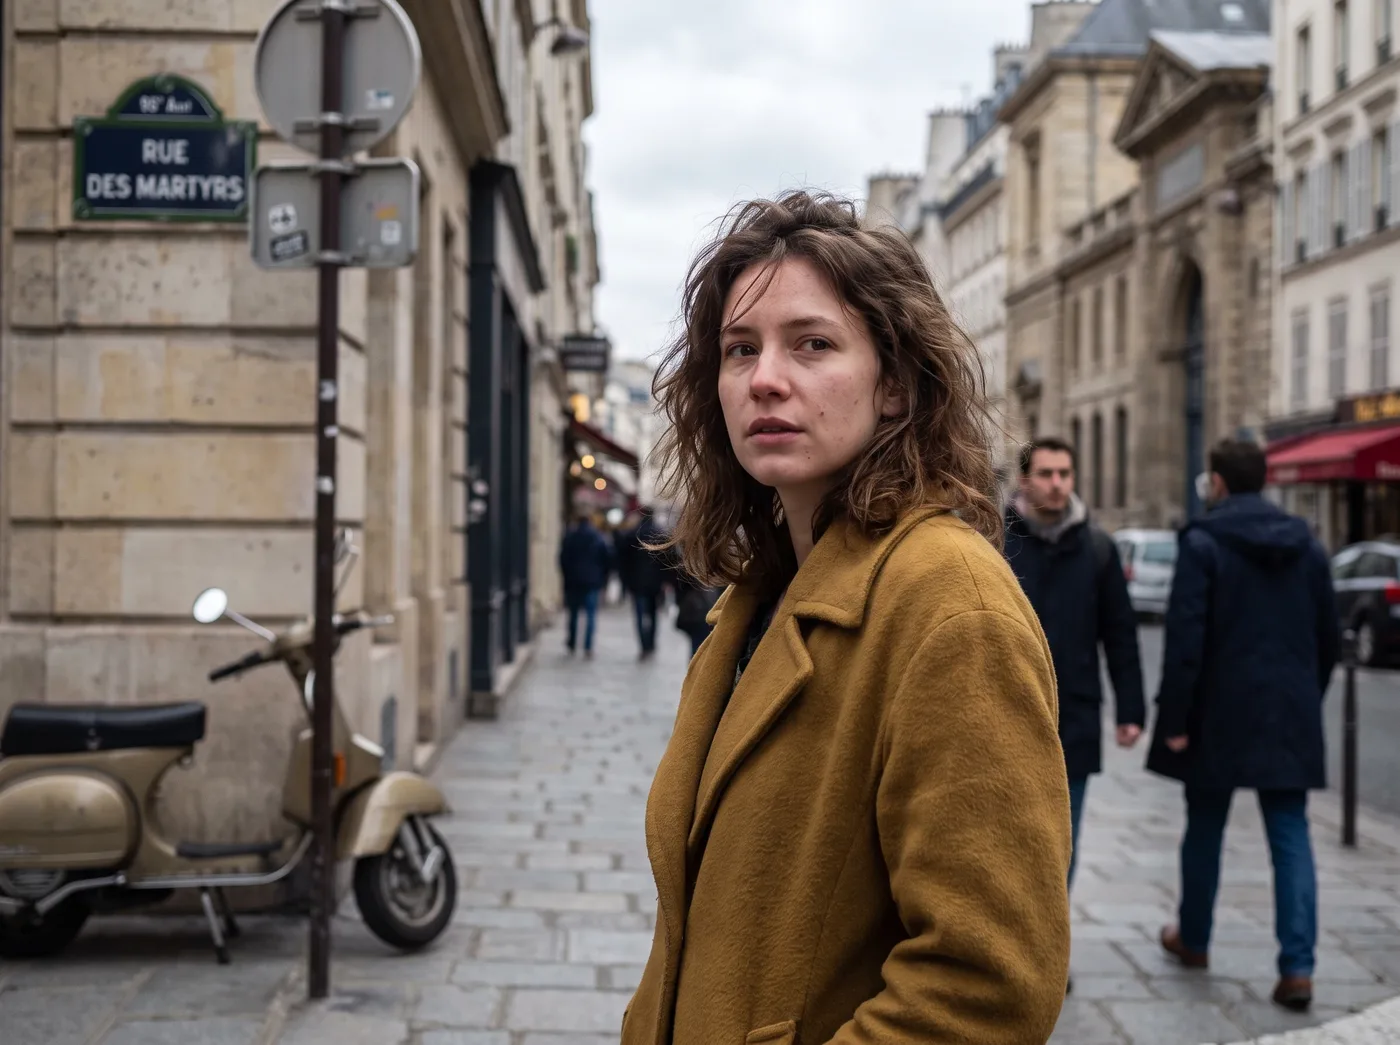
The prompt shown is the only instruction given.
How to edit an image with AI
Three steps, in the order the tool walks you through them.
Drop your image
JPG, PNG, WebP, HEIC
1.Upload your image
Drop in a JPG, PNG, WebP, or HEIC file, or paste it straight from your clipboard.
2.Pick the edit, describe it
Choose remove, swap background, restyle, add, or color grade, then say what you want in a sentence. The editor turns it into the right instruction for the model.
3.Compare, then use it
The result lands on a before-and-after slider. Download it, edit it again, or send it to the video generator to animate it.
AI image editing features for everyday photo edits
Each capability below is shown on a real edit: drag the slider to compare the original photo with the result.
Remove objects and distractions
Name what should disappear, from passersby and wires to whole vehicles. The AI fills the space so the background continues naturally, an inpainting-style edit with no brush work required.
Change backgrounds, keep the subject
Move a product or a person into a new setting without a reshoot. The subject keeps its exact shape, texture, and label details while light and shadows adapt to the new scene.
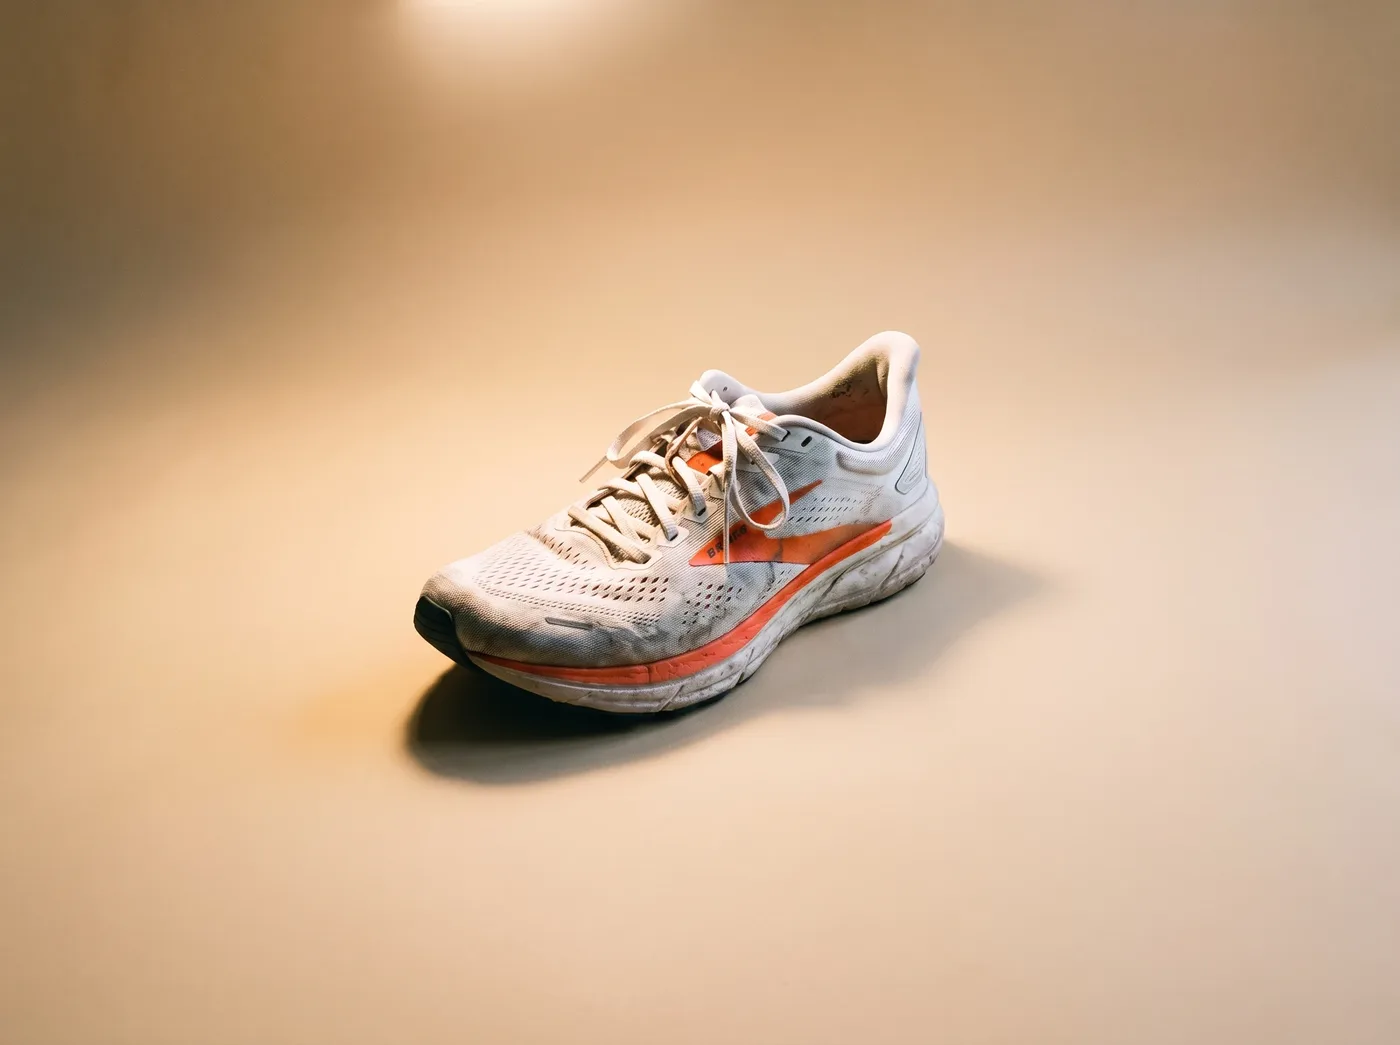
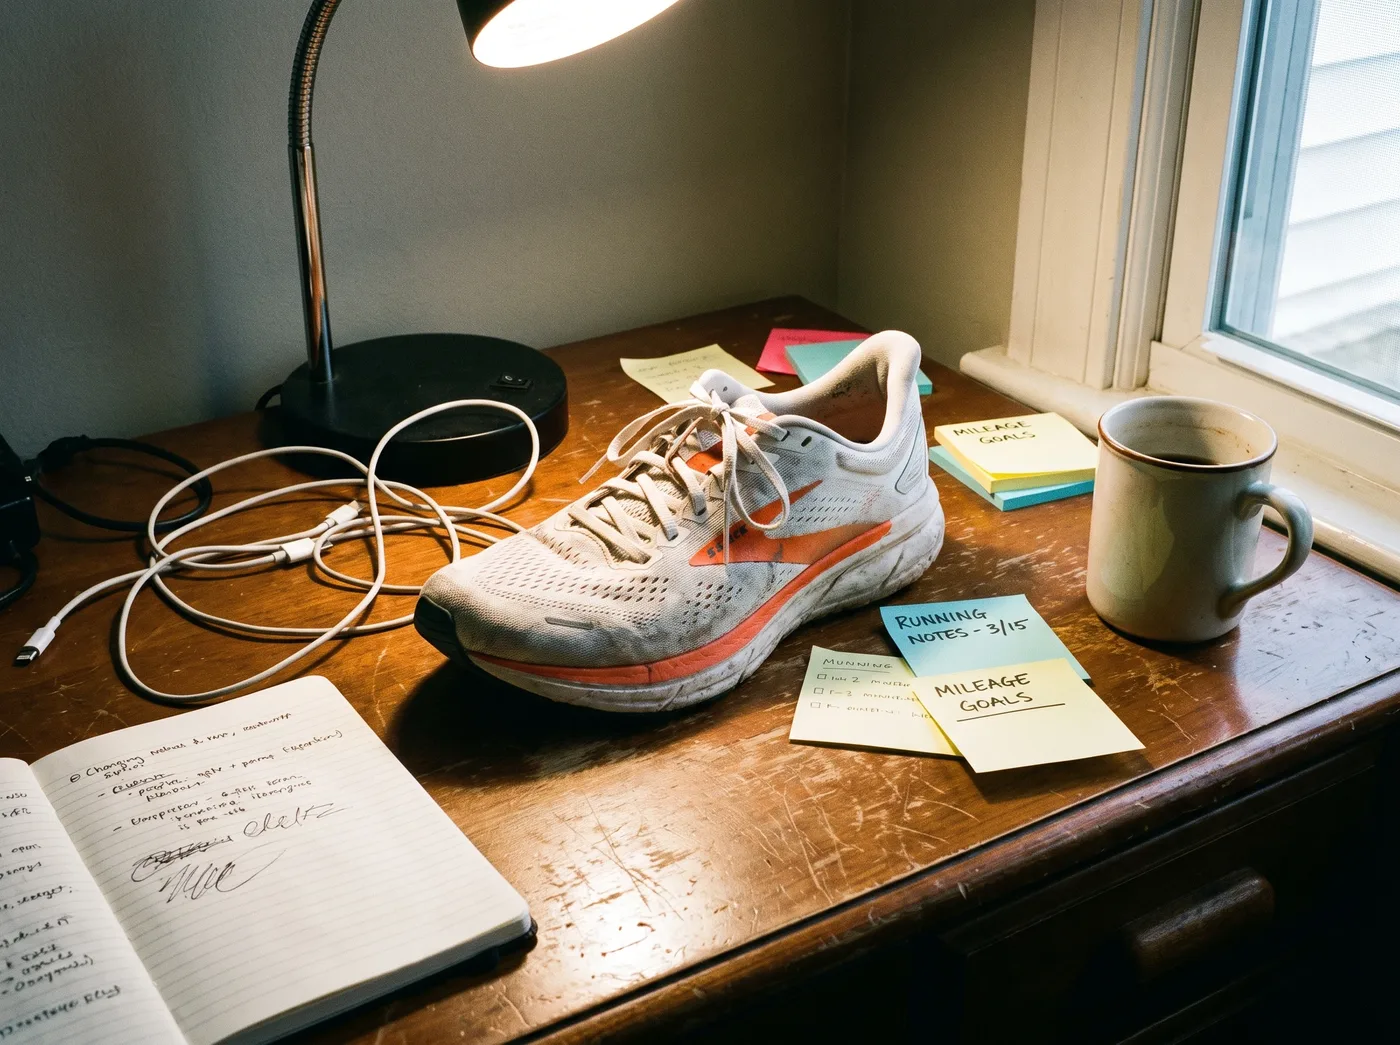
Restyle a photo, keep the composition
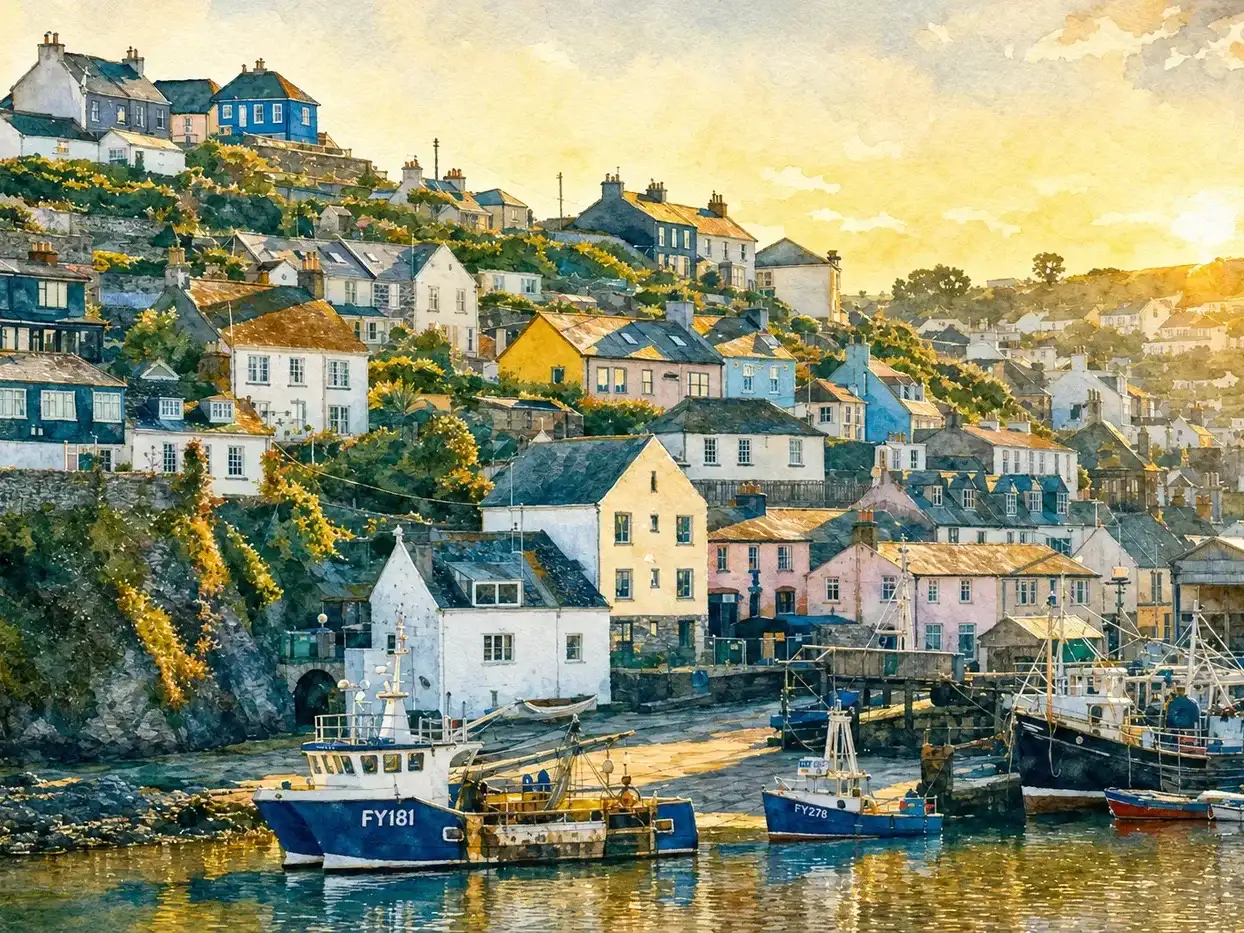
Turn a photo into watercolor, anime, film noir, or any art direction you can describe. Composition and subjects stay in place, only the treatment changes.
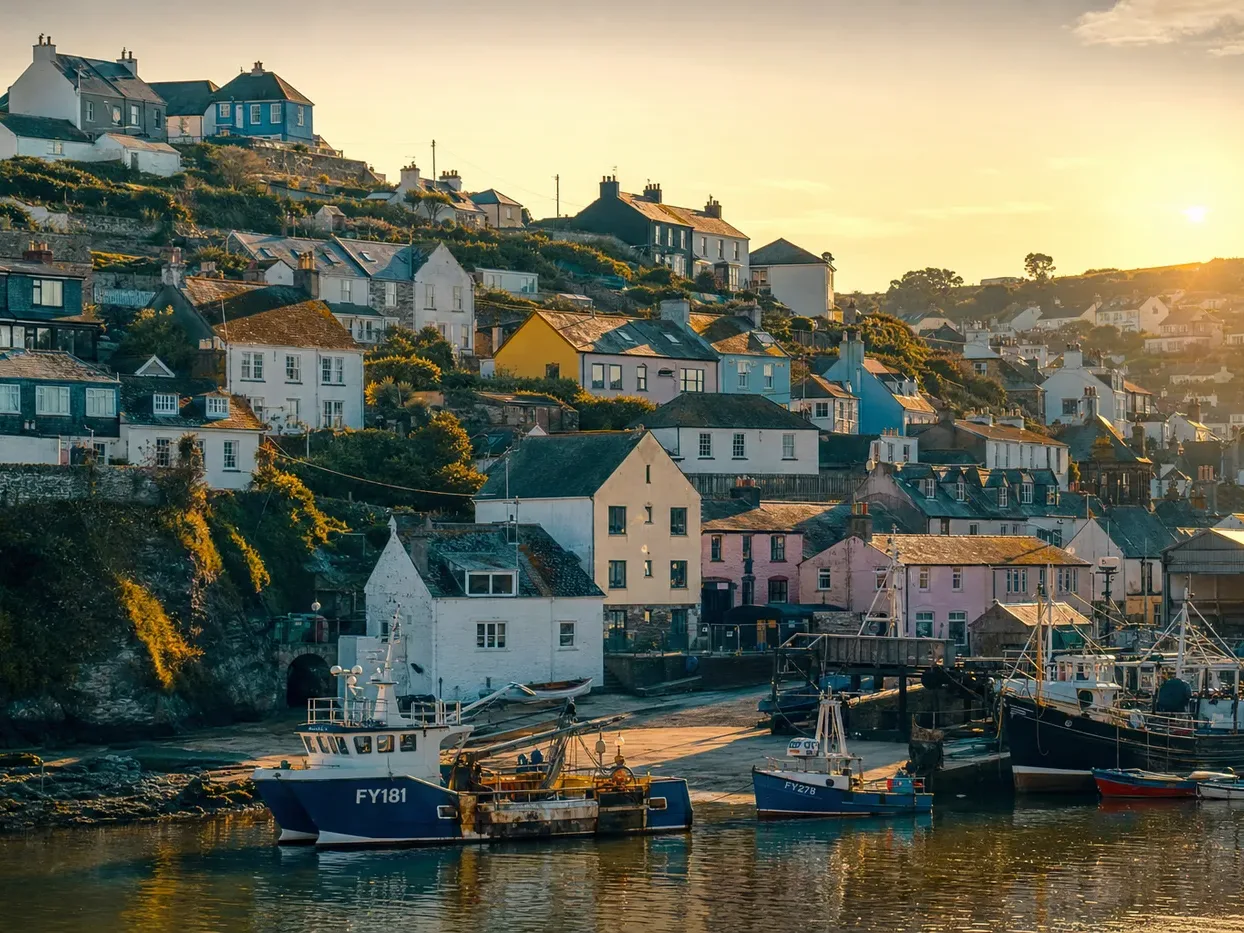
Grade colors like a colorist
Describe a mood, from teal and orange blockbuster to faded 70s film, and get the same frame back with only color and light changed. Nothing added, nothing removed.

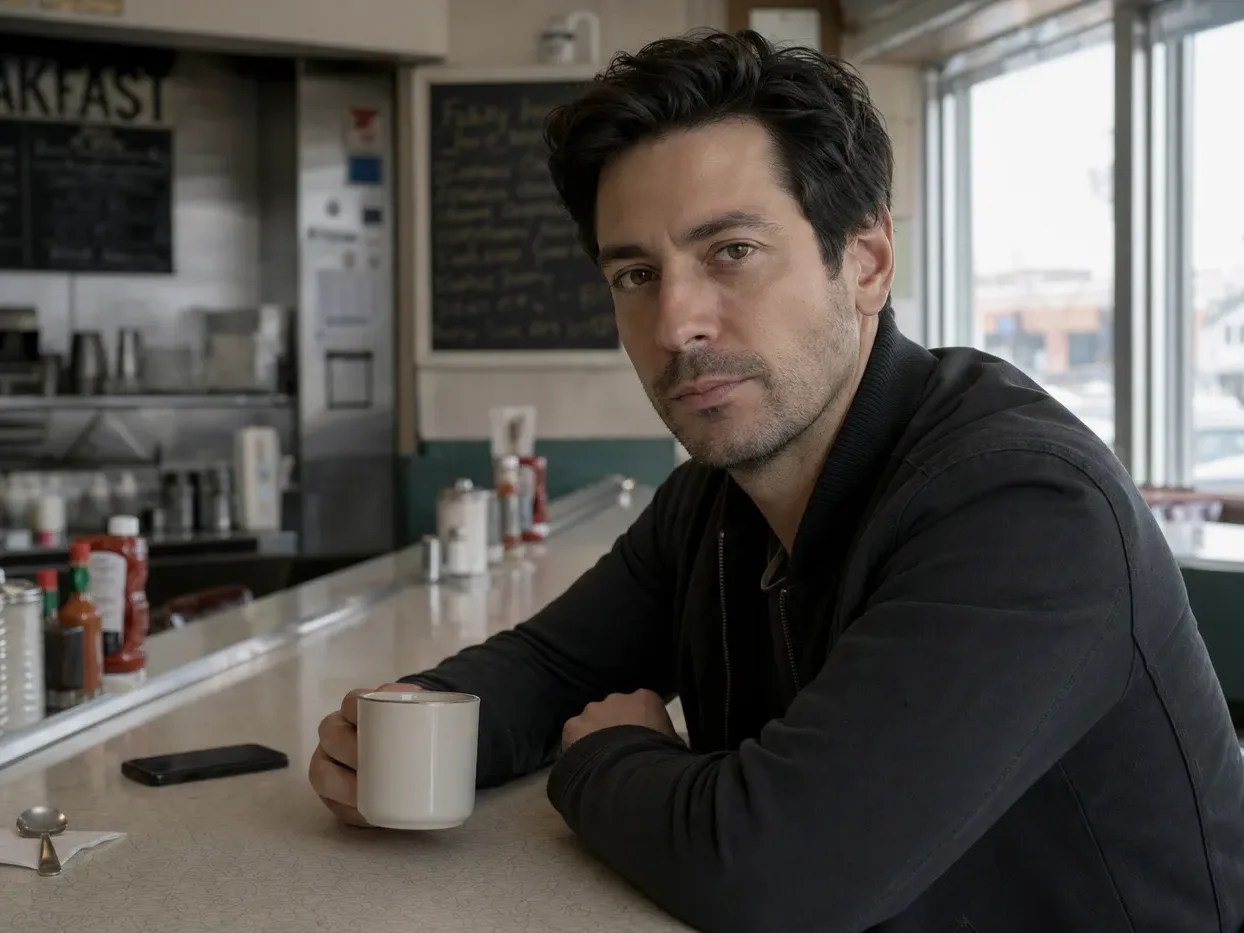
Inside the editor: precision tools for when a sentence isn't enough
Actual screenshots of the editor, not mockups. When you need more control than one instruction, switch tools from the left toolbar and work on the same canvas.
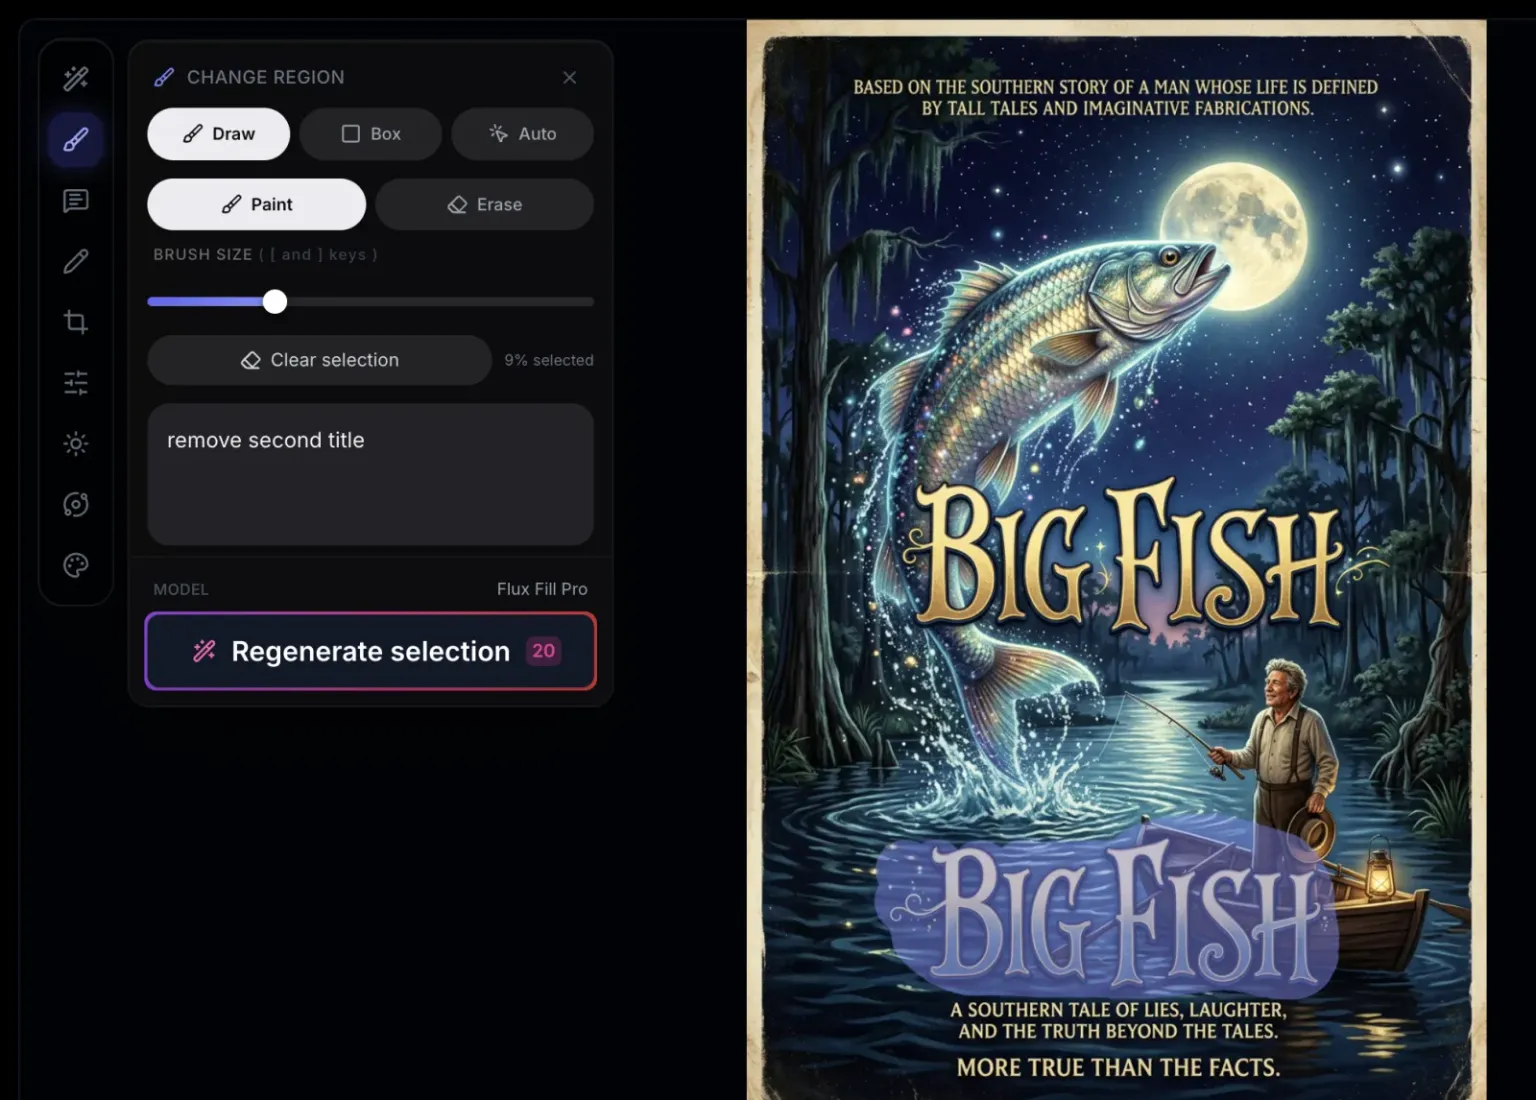
Change region, keep the rest
Paint, box, or auto-select an area and only that region is regenerated by inpainting. The rest of the image stays pixel-identical.
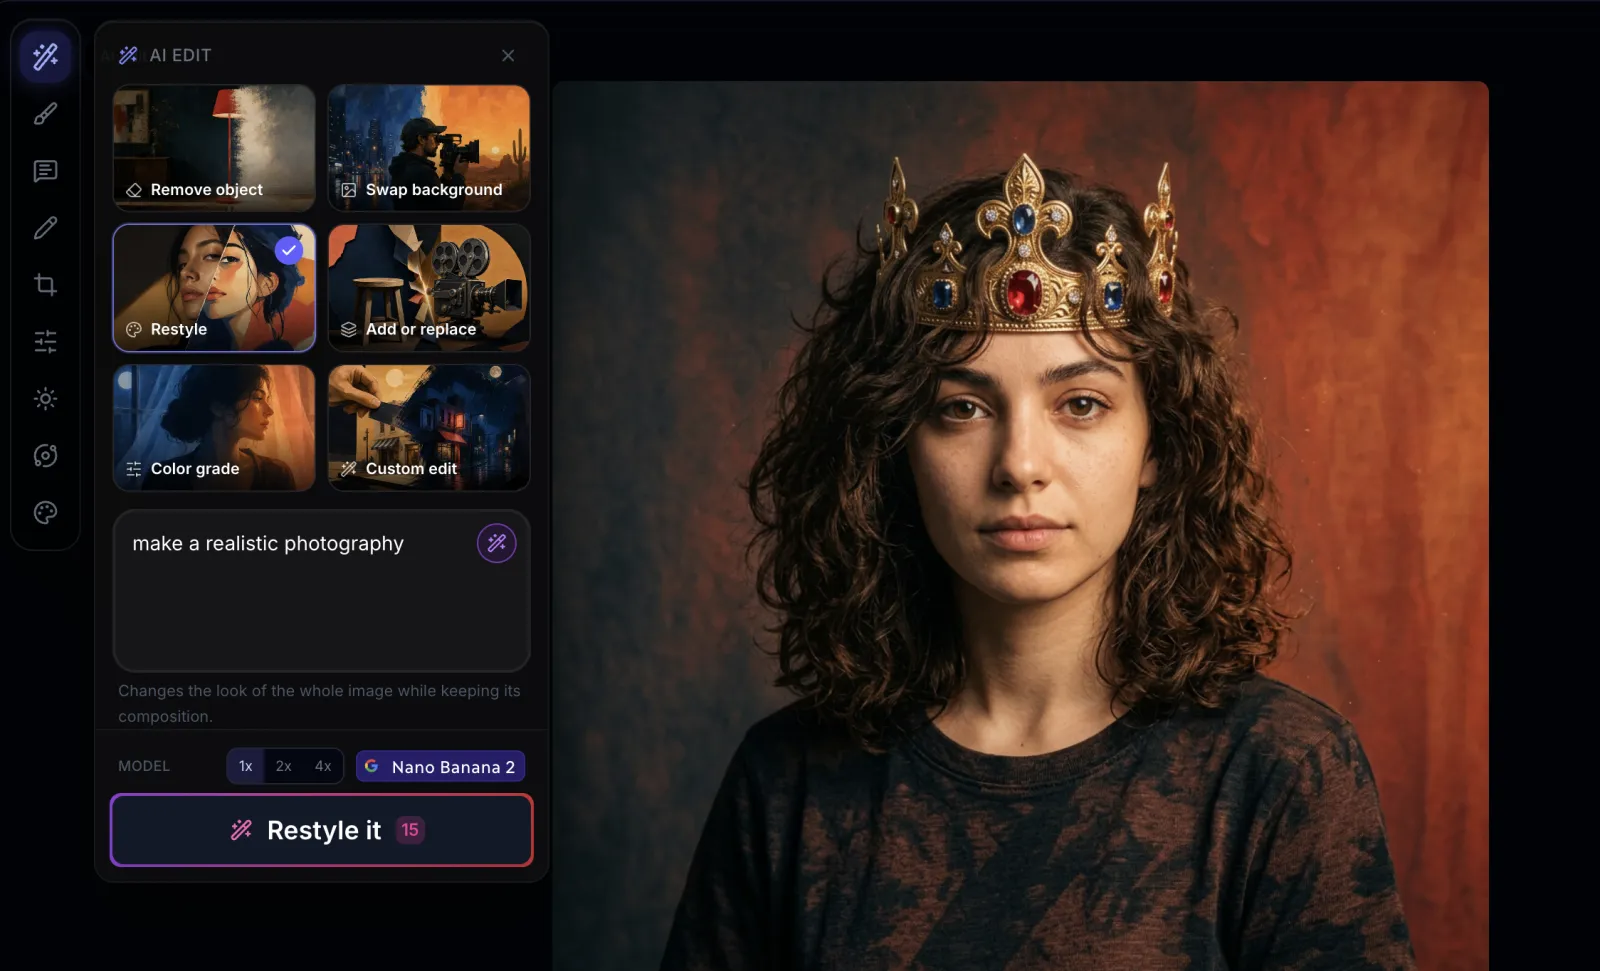
AI Edit presets
Six edit types, remove, swap background, restyle, add or replace, color grade, and custom, each one turns your sentence into the right instruction for the model.
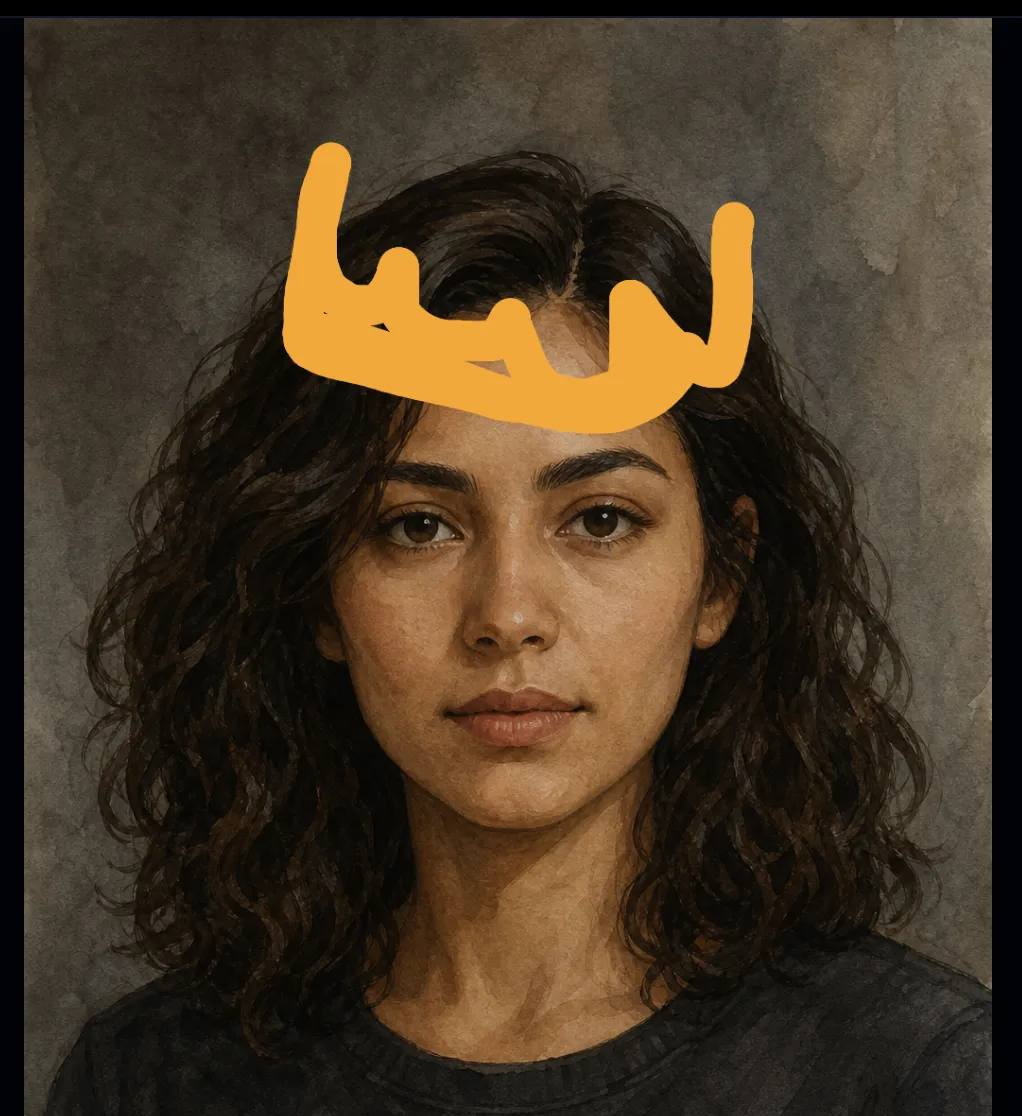
Draw on the image
Sketch roughly where something should appear, describe it, and the AI replaces your strokes with a real object that matches the scene's light and style.
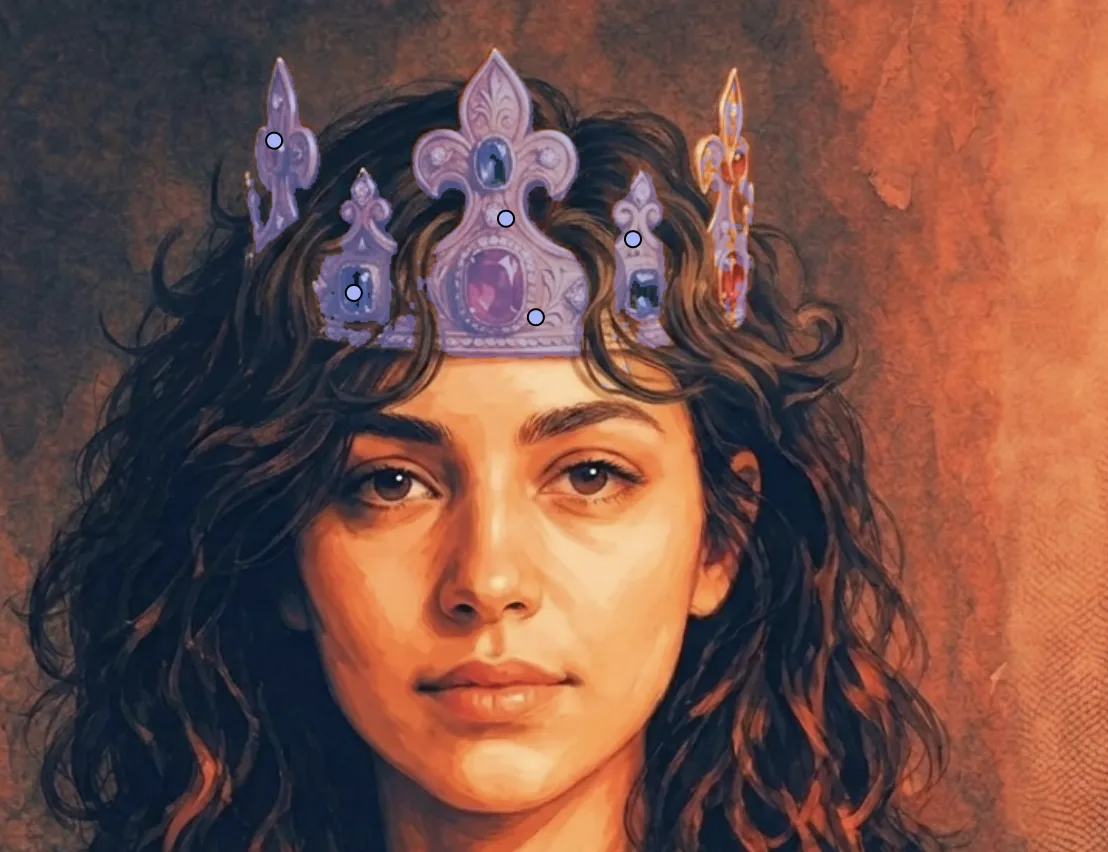
Auto-select any object
Click an object and segmentation grabs its exact edges, no careful masking. Left click includes, right click excludes.
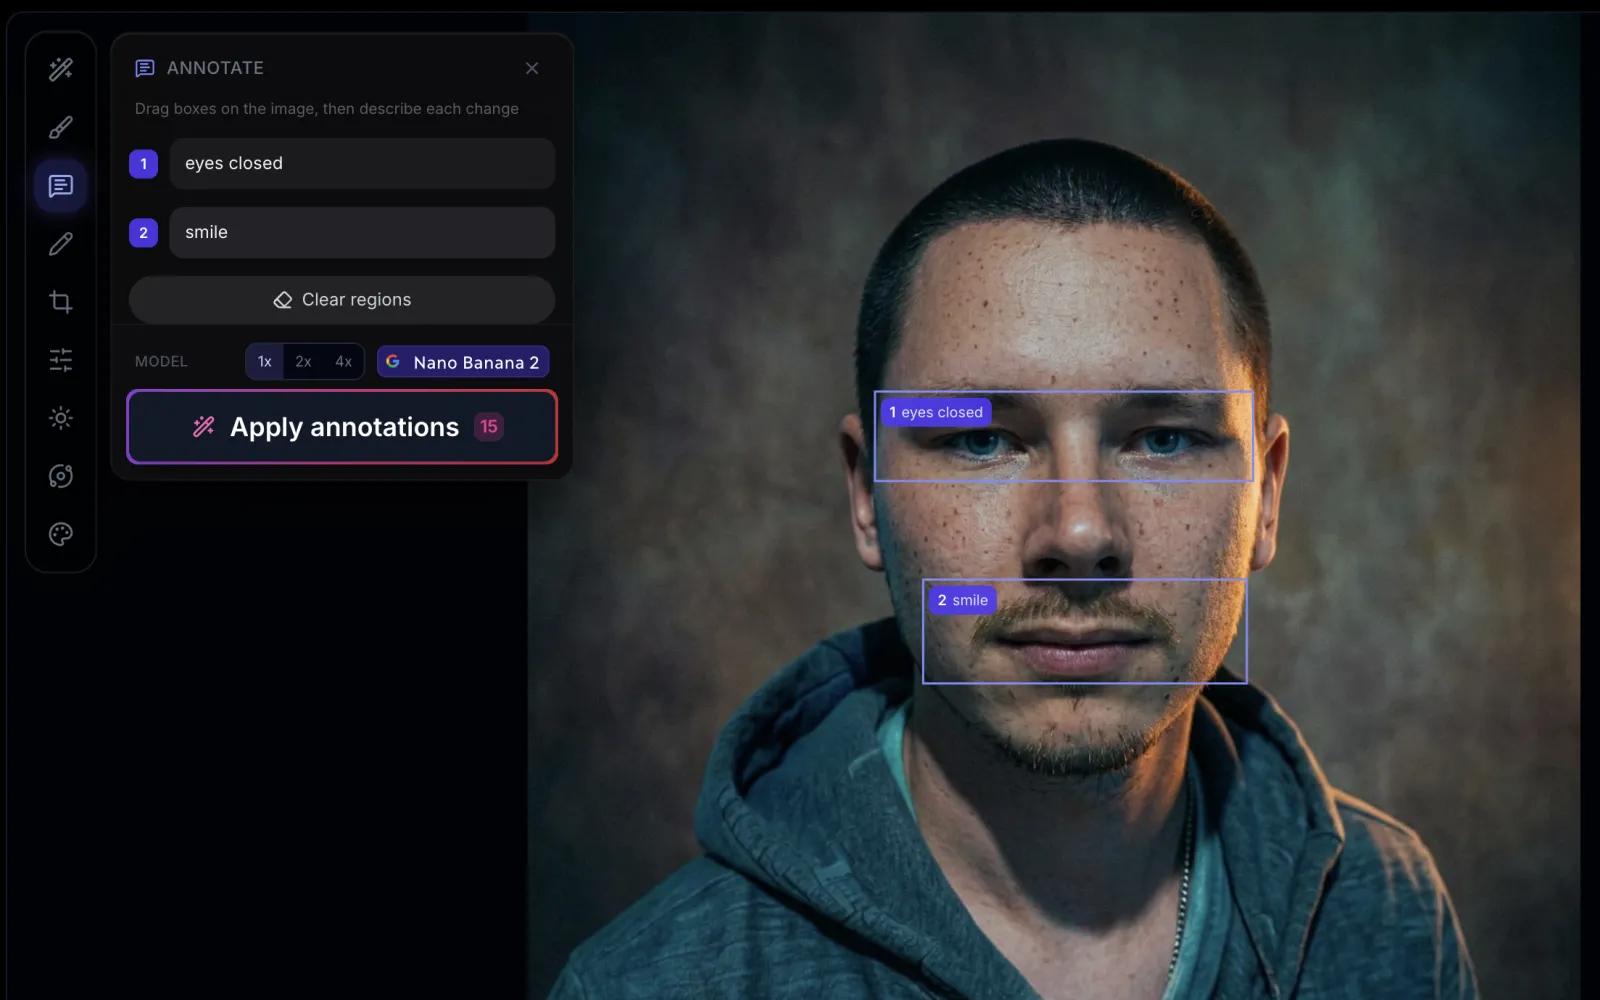
Annotate several changes at once
Drag numbered boxes on the image and describe each change, then apply them all in a single edit.
Every tool works on the same image, with undo, redo, and the cost shown before each edit.
Pick the model per edit, see the cost first
Different edits suit different models. The editor shows the exact credit cost before you generate, and failed edits are refunded automatically.
What can you edit with AI?
The same describe-it workflow covers most everyday photo edits.
Clean up photos
Remove passersby, wires, trash bins, or anything else that spoils an otherwise good shot.
Remove the bin and the cables
Product shots
Move a product from your desk to a studio backdrop without a reshoot, keeping labels readable.
Put it on a marble counter
Film frames and storyboards
Fix a generated frame instead of re-rolling it: change props, weather, time of day, or set dressing.
Make it golden hour
Thumbnails and social
Punch up colors, swap distracting backgrounds, and iterate variations from one base image.
Swap in a bold red gradient
Marketing and ads
Adapt one asset for landing pages, paid social, and seasonal campaigns without reshooting every variant.
Make it a winter scene
Interiors and spaces
Try new furniture, materials, or lighting in a room photo while keeping its structure and perspective.
Make the sofa green velvet
AI image editor: frequently asked questions
Practical answers before you start creating.
Edit your next image by describing it
Upload a photo, type the change, and judge the result on a before-and-after slider.