
The
on Melies lets you create cinematic video clips using 8 AI models from the world's leading providers. From quick concept clips to production-quality footage with native audio, this guide covers every feature available.Available Models
Melies offers 8 video generation models, each with distinct strengths in quality, duration, resolution, and special features.
Model Comparison Table
| Model | Provider | Speed | Quality | Credits | Resolution | Duration | Key Features |
|---|---|---|---|---|---|---|---|
| Veo 3.1 | Slow | Best | 400 | 4K | 4-8s | Native audio generation | |
| Kling v3 Pro | Kuaishou | Medium | High | 100 | HD | 3-15s | Multi-shot, lip sync, Voice ID |
| Kling O3 Standard | Kuaishou | Medium | High | 80 | HD | 3-15s | Character elements |
| Kling v3 Standard | Kuaishou | Medium | Good | 60 | HD | 3-15s | Character elements |
| Seedance v1 Pro | ByteDance | Medium | Good | 80 | 1080p | 2-12s | - |
| Hailuo 02 | MiniMax | Medium | Good | 70 | 512P/768P | 6s or 10s | - |
| WAN v2.2 | Alibaba | Medium | Good | 60 | 480-720p | ~5s | - |
| LTX 2 Pro | Lightricks | Fast | Good | 50 | HD | ~4.8s | Camera movement presets (LoRA) |
Choosing the Right Model
For the highest quality: Veo 3.1 produces the best visual quality at 4K resolution and includes native audio generation. At 400 credits per clip, it is best reserved for hero shots and final production footage.
For versatile filmmaking: Kling v3 Pro is the most feature-rich model with multi-shot sequences, lip sync, and Voice ID support. It offers the longest duration (up to 15 seconds) at a reasonable 100 credits.
For character-driven scenes: Kling O3 Standard and Kling v3 Standard both support character elements for maintaining visual consistency at 80 and 60 credits respectively.
For fast iteration: LTX 2 Pro is the fastest model at just 50 credits, with built-in camera movement presets. Great for previewing scenes and exploring ideas.
For budget-friendly clips: WAN v2.2 (60 credits) and LTX 2 Pro (50 credits) are the most affordable options for generating video concepts.
Text-to-Video
Text-to-video is the simplest way to generate a clip. Write a description of your scene and the model creates a video from scratch.
How to Generate Video from Text
- Open the
- Select your preferred model
- Write a detailed scene description in the prompt field
- Choose duration and resolution settings (options vary by model)
- Click generate
Tips for Better Text-to-Video Results
- Be specific about movement: Describe what is happening in the scene, not just what it looks like. "A woman walks slowly through a rainy street, looking over her shoulder" works better than "woman in rainy street."
- Include camera direction: Mention camera movements like "slow dolly forward" or "camera pans left" to guide the composition.
- Set the mood: Include lighting and atmosphere details. "Dimly lit with warm amber tones" gives the model clear visual direction.
- Keep it focused: Each clip should describe one clear action or moment. Avoid cramming multiple actions into a single prompt.
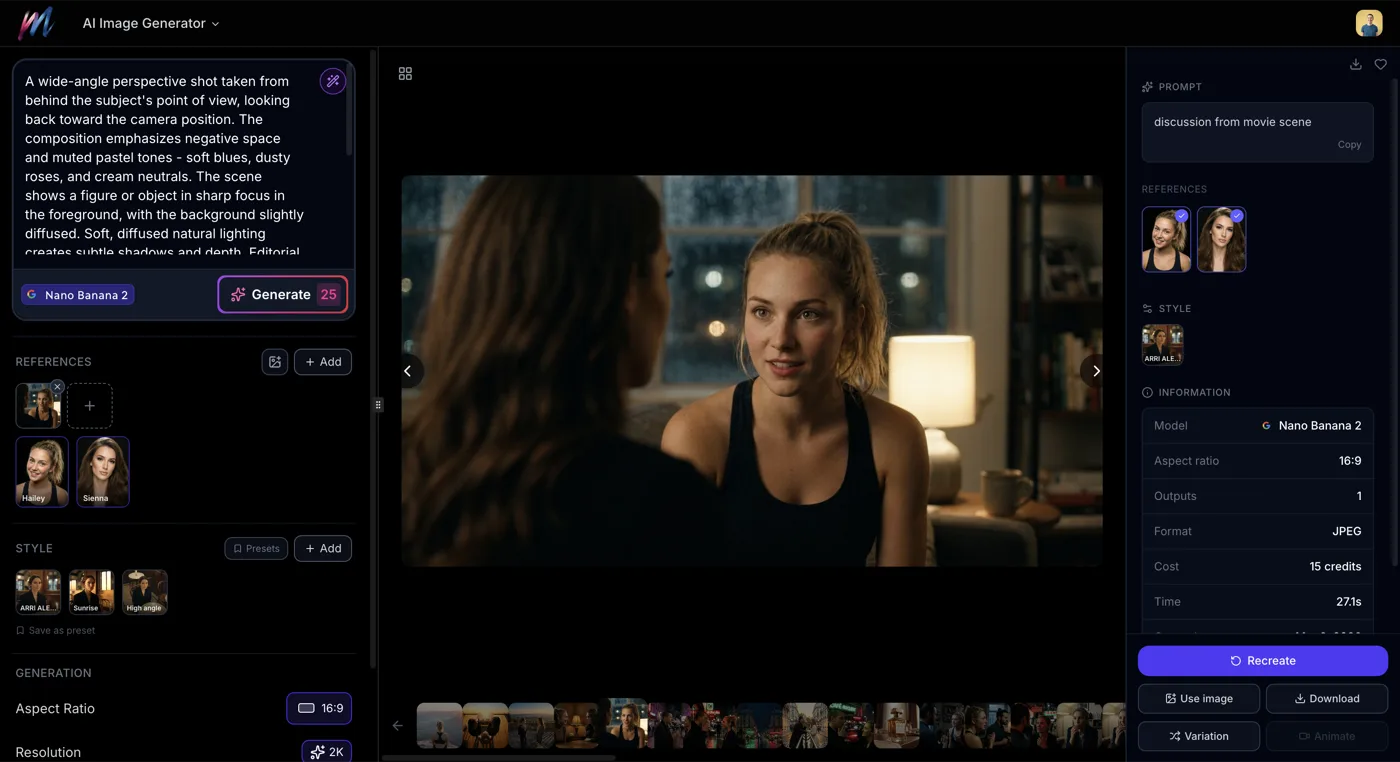
Image-to-Video
Image-to-video lets you animate a still image, turning it into a moving clip. This workflow gives you much more control over the visual result because you start with a known frame.
How to Generate Video from an Image
- Generate an image using the or upload your own
- Open the
- Upload or select your starting image
- Write a prompt describing what should happen in the video (the movement, action, camera motion)
- Select your model and settings
- Click generate
Why Use Image-to-Video
- Character consistency: Generate a character image first, then animate it - the video will closely match the starting frame
- Precise framing: Get the exact composition you want in the first frame before adding motion
- Storyboard to film: Turn storyboard frames into animated sequences
- Cost efficiency: Iterate on cheap images first (2 credits with Flux Schnell), then spend video credits only on frames you are happy with
Duration and Resolution Options
Each model has different duration and resolution capabilities.
Duration by Model
| Model | Minimum | Maximum | Notes |
|---|---|---|---|
| Veo 3.1 | 4s | 8s | Includes native audio |
| Kling v3 Pro | 3s | 15s | Longest single-clip duration |
| Kling O3 Standard | 3s | 15s | - |
| Kling v3 Standard | 3s | 15s | - |
| Seedance v1 Pro | 2s | 12s | - |
| Hailuo 02 | 6s | 10s | Fixed at 6s or 10s |
| WAN v2.2 | ~5s | ~5s | Fixed duration |
| LTX 2 Pro | ~4.8s | ~4.8s | Fixed duration |
Resolution by Model
| Model | Resolution Options |
|---|---|
| Veo 3.1 | Up to 4K |
| Kling v3 Pro | HD |
| Kling O3 Standard | HD |
| Kling v3 Standard | HD |
| Seedance v1 Pro | 1080p |
| Hailuo 02 | 512P or 768P |
| WAN v2.2 | 480p to 720p |
| LTX 2 Pro | HD |
Camera Movement Presets
LTX 2 Pro includes built-in camera movement presets powered by LoRA (Low-Rank Adaptation) technology. Instead of describing camera motion in your prompt, you can select a preset for precise, consistent results.
Available Presets
| Preset | Description |
|---|---|
| Dolly | Camera moves forward or backward along a track, creating depth |
| Jib | Camera moves vertically up or down, simulating a crane shot |
| Static | Camera remains fixed, focusing entirely on subject movement |
These presets are exclusive to LTX 2 Pro and are applied automatically during generation. They produce smoother, more predictable camera motion than prompt-based directions.
Multi-Shot Sequences
Kling v3 Pro supports multi-shot sequence generation, a powerful feature for creating connected scenes.
What Are Multi-Shot Sequences
Instead of generating individual clips and editing them together, multi-shot mode lets you generate several connected shots in a single generation. The model maintains visual consistency between shots, making transitions feel natural.
When to Use Multi-Shot
- Dialogue scenes: Generate shot and reverse-shot sequences
- Action sequences: Create connected beats in an action scene
- Scene transitions: Move from one framing to another smoothly
- Short narratives: Tell a brief visual story in one generation
Lip Sync and Voice ID
Kling v3 Pro includes lip sync and Voice ID capabilities for creating dialogue-driven scenes.
Lip Sync
Provide dialogue text and the model generates a character speaking those words with synchronized lip movements. This is valuable for:
- Creating talking-head scenes without live actors
- Animating AI-generated characters with speech
- Prototyping dialogue scenes before production
Voice ID
Voice ID lets you maintain a consistent voice across multiple generated clips. Once you establish a voice for a character, you can reuse it in new generations, keeping your characters sounding the same throughout your project.
Extending Videos
Melies lets you extend generated videos beyond their initial duration. After generating a clip, you can extend it to continue the action or scene.
How Video Extension Works
- Generate a video clip using any model
- Select the extend option on the generated clip
- The model generates additional frames that continue seamlessly from where the original clip ended
- Repeat to build longer sequences
This is useful for creating clips longer than a single model's maximum duration, or for extending a particularly good generation that you want to continue.
Audio Generation
Native Audio with Veo 3.1
Veo 3.1 is the only model that generates synchronized audio alongside video. This includes:
- Ambient sounds matching the scene (rain, wind, crowds)
- Sound effects tied to on-screen actions
- Environmental audio that matches the visual setting
This makes Veo 3.1 uniquely suited for producing complete audiovisual clips without a separate audio step.
Adding Audio During Export
For all other models, you can add audio during the export process.
- Music: Add background music tracks with volume control
- Voice: Layer voiceover or dialogue
- SFX: Add sound effects
Character Consistency with Reference Images
Maintaining consistent characters across multiple video clips is one of the biggest challenges in AI filmmaking. Melies offers several tools to help.
Workflow for Consistent Characters
- Create your character using the with a detailed description
- Extract the subject to isolate the character from the background
- Use as reference when generating new images and videos
- Select character element models like Kling O3 Standard or Kling v3 Standard for built-in character consistency
Character Elements
Kling O3 Standard and Kling v3 Standard support character elements, which allow you to define persistent character traits that the model maintains across generations. This is more reliable than prompt-based consistency alone.
Export Formats and Settings
When your clips are ready, Melies offers flexible export options.
Video Formats
| Format | Best For |
|---|---|
| MP4 | Universal compatibility, social media, most players |
| WebM | Web playback, smaller file sizes |
Export Settings
| Setting | Options |
|---|---|
| Resolution | 480p, 720p, 1080p |
| Quality | Low (CRF 28), Medium (CRF 23), High (CRF 18) |
| Frame Rate | 1-60 FPS (default 25) |
| Aspect Ratio | 16:9, 3:2, 1:1, 2:3, 9:16 |
Additional Export Options
- Zoom mode: Apply zoom effects to your final video
- Poster frame: Set a specific frame as the video thumbnail
- Audio mixing: Combine music, voice, and sound effects with individual volume controls
Credit Costs Breakdown
Video generation costs more credits than images because of the computational complexity involved. Here is a quick reference.
| Model | Credits per Clip |
|---|---|
| LTX 2 Pro | 50 |
| WAN v2.2 | 60 |
| Kling v3 Standard | 60 |
| Hailuo 02 | 70 |
| Kling O3 Standard | 80 |
| Seedance v1 Pro | 80 |
| Kling v3 Pro | 100 |
| Veo 3.1 | 400 |
Cost-Effective Video Workflow
- Concept phase: Use LTX 2 Pro (50 credits) or WAN v2.2 (60 credits) to test ideas quickly
- Refinement: Switch to Kling v3 Standard (60 credits) or Seedance v1 Pro (80 credits) for better quality
- Production: Use Kling v3 Pro (100 credits) for final clips that need features like lip sync or multi-shot
- Hero shots: Reserve Veo 3.1 (400 credits) for your most important scenes where 4K quality and native audio matter
Visit the
page for current credit packages.Tips for Great Video Results
Start with image-to-video: Generating an image first and then animating it gives you far more control than text-to-video alone. Iterate on cheap images before spending video credits.
One action per clip: Keep your prompts focused on a single movement or action. Multi-action prompts often produce confused results.
Use camera presets when available: LTX 2 Pro's Dolly, Jib, and Static presets produce smoother camera motion than prompt-based direction.
Plan your shots like a real film: Think in terms of establishing shots, close-ups, and reaction shots. Generate each as a separate clip and combine them in the export.
Match models to your needs: Do not use Veo 3.1 for every clip. Use affordable models for B-roll and transition shots, and save premium models for key moments.
Ready to create your first video? Open the
and start generating. For still frames and character design, check out the