

AI video models generate clips that are typically 4-15 seconds long. That is great for quick shots, but sometimes you need a longer continuous take. The Melies AI Video Extender makes a video longer by generating new frames that continue from where the clip ends.
This guide covers how to extend AI-generated videos with Melies, which models support it, and how to get smooth, natural-looking extensions.
Quick answer: Upload a clip to the AI Video Extender, choose a model and duration, and optionally describe the next action or camera move. Melies preserves the source clip, appends 4 to 15 seconds depending on the model, and shows the exact credit cost before generation.
What Is Video Extension?
Video extension takes an existing AI-generated clip and creates additional footage that continues the action. The AI model analyzes the last frame of your video along with the motion trajectory, then generates new frames that:
- Match the visual style of the original clip
- Continue the motion naturally without jumps
- Maintain character consistency across the extension
- Preserve the scene setting and lighting
Think of it like telling a camera operator to keep rolling. The AI picks up exactly where the previous clip left off.
When to Extend vs. Regenerate
Before extending a clip, ask yourself: Am I happy with what I have so far?
Extend When:
- The first few seconds look great and you want more
- The action needs to continue (a character walking, a camera pan in progress)
- You want to build a longer continuous shot without cuts
- The visual quality and style match your vision
Regenerate When:
- The motion does not match your prompt
- The character looks wrong or inconsistent
- The lighting or style is off
- You want to try a completely different interpretation
Extension builds on what exists. If the foundation is not right, extending it will not fix the problem. It will just give you more of something that does not work.
Supported Models for Video Extension
Melies uses two extension mechanisms. Both add footage after the final frame:
| Model route | How it continues the clip | Extension length |
|---|---|---|
| Veo 3.1 native extension | Sends the full source video to the model | Fixed 7 seconds at 720p |
| Last-frame extension | Conditions an image-to-video model on the exact final frame, then appends the continuation | 4 to 15 seconds depending on the model |
The last-frame route supports enabled models such as Kling, Seedance, Sora, LTX, WAN, Hailuo, Grok, and HappyHorse when their current configuration includes image-to-video generation. Available models can change, so the authenticated tool is the source of truth.
Melies checks the final source frame against the first generated frame. If the continuation drifts, the pipeline retries once with stronger conditioning and refunds the generation if the second result still fails.
Step-by-Step: Extending Your AI Video
Step 1: Generate Your Base Clip
Start by creating your initial video using the AI Video Generator. Write a clear prompt and choose a model that matches your needs.
For clips you plan to extend, keep these tips in mind:
- End on ongoing action: A character mid-walk is easier to extend than a character who has stopped moving
- Avoid abrupt endings: If the last frame shows a completed action, the extension has nowhere natural to go
- Use open compositions: Leave visual space for the action to continue
Step 2: Review the Result
Watch your generated clip carefully. Pay attention to the last few frames:
- Is the action still in progress?
- Is the character still in frame and clearly visible?
- Is the motion smooth and directionally clear?
If the clip ends cleanly with ongoing motion, it is a good candidate for extension.
Step 3: Extend the Clip
Open the AI Video Extender or use the extend action on a video in the AI Video Generator. The AI will:
- Analyze the final frame and recent motion
- Generate new frames that continue seamlessly
- Append the new footage to your existing clip
The extension maintains the same visual quality, lighting, and character appearance as the original.
Step 4: Review the Extended Result
Watch the full extended clip from the beginning. Check for:
- Seamless transition: No visible jump or flicker at the extension point
- Motion continuity: The action flows naturally across the join
- Visual consistency: Colors, lighting, and style remain uniform
- Character stability: The character looks the same throughout
Step 5: Extend Again if Needed
You can extend multiple times to build progressively longer clips. Each extension adds more footage to the end. Keep in mind:
- Each extension uses the credit cost shown for the selected model and settings
- Quality may gradually drift over many extensions
- After 2-3 extensions, consider starting a new shot instead
Tips for Seamless Extensions
Write Prompts That Suggest Ongoing Action
Your initial prompt sets the foundation for how well extensions work. Prompts with continuous action extend more naturally:
Good for extension:
- "A woman walks through a busy marketplace, browsing stalls"
- "Slow aerial drone shot over a coastal city at sunset"
- "A detective examines evidence on a desk, turning items over"
Harder to extend:
- "A man turns around in surprise" (action completes quickly)
- "An explosion destroys a building" (single event)
- "A door slams shut" (abrupt ending)
Choose a Duration That Fits the Shot
The tool offers only the durations supported by the selected model. Current options span 4 to 15 seconds per pass, while Veo 3.1 native extension is fixed at 7 seconds.
- Use a shorter continuation when the next action is simple and precise
- Use a longer continuation when the camera move or subject motion needs room to develop
- Chain another extension after reviewing the first result rather than committing to a long sequence blindly
The exact output duration appears before generation as source duration plus extension length.
Keep Camera Movement Consistent
Extensions work best when camera movement is predictable. A steady pan, a slow dolly, or a static shot extend cleanly because the AI can predict where the camera should go next.
Erratic or fast camera movements are harder to continue smoothly. A concise prompt that names the camera direction helps the model preserve the intended movement.
Plan Your Shot Before Generating
Think about the full shot you want before you start. If you need a 15-second clip:
- Can the base model generate the full duration in one pass?
- Or does the shot need a shorter clip followed by a controlled continuation?
Planning ahead avoids wasted credits on clips that do not extend well.
Extension vs. Multi-Shot Sequences
Extension and multi-shot are different techniques for building longer content:
| Approach | What It Does | Best For |
|---|---|---|
| Extension | Continues the same shot seamlessly | Long continuous takes, tracking shots, ongoing action |
| Multi-shot | Creates multiple distinct shots | Dialogue scenes, angle changes, scene transitions |
Extension gives you a longer single shot. The camera keeps rolling and the action continues.
Multi-shot (available on Kling v3 Pro) gives you multiple distinct shots that cut between different angles or compositions. This is better for building edited sequences.
Often, the best approach combines both: extend individual shots to the right length, then arrange them as a multi-shot sequence in the timeline.
Building Longer Sequences in the Timeline
Even with extension, individual clips have limits. For truly long videos, use the Melies timeline editor to combine multiple clips:
- Generate your key shots using the AI Video Generator
- Extend shots that need to be longer
- Drag clips into the timeline in sequence
- Add transitions between shots
- Layer audio - music, voice, and sound effects
- Export your final video in MP4 or WebM
The timeline is where individual clips become a complete film. You control the pacing, the order, and the audio mix.
Credit Cost Considerations
Extension cost varies by model, extension length, resolution, and generated-audio setting. The tool shows the exact credit cost before the generate button is enabled.
Plan credits around the editing job:
- Generate a longer base clip when one model can produce the full action cleanly
- Extend when the existing clip is already strong and preserving it matters more than starting over
- Use a shorter or lower-cost model for tests, then switch models when the final continuation needs higher fidelity
- Review each continuation before chaining another pass because visual drift can accumulate over a long sequence
Check the credits guide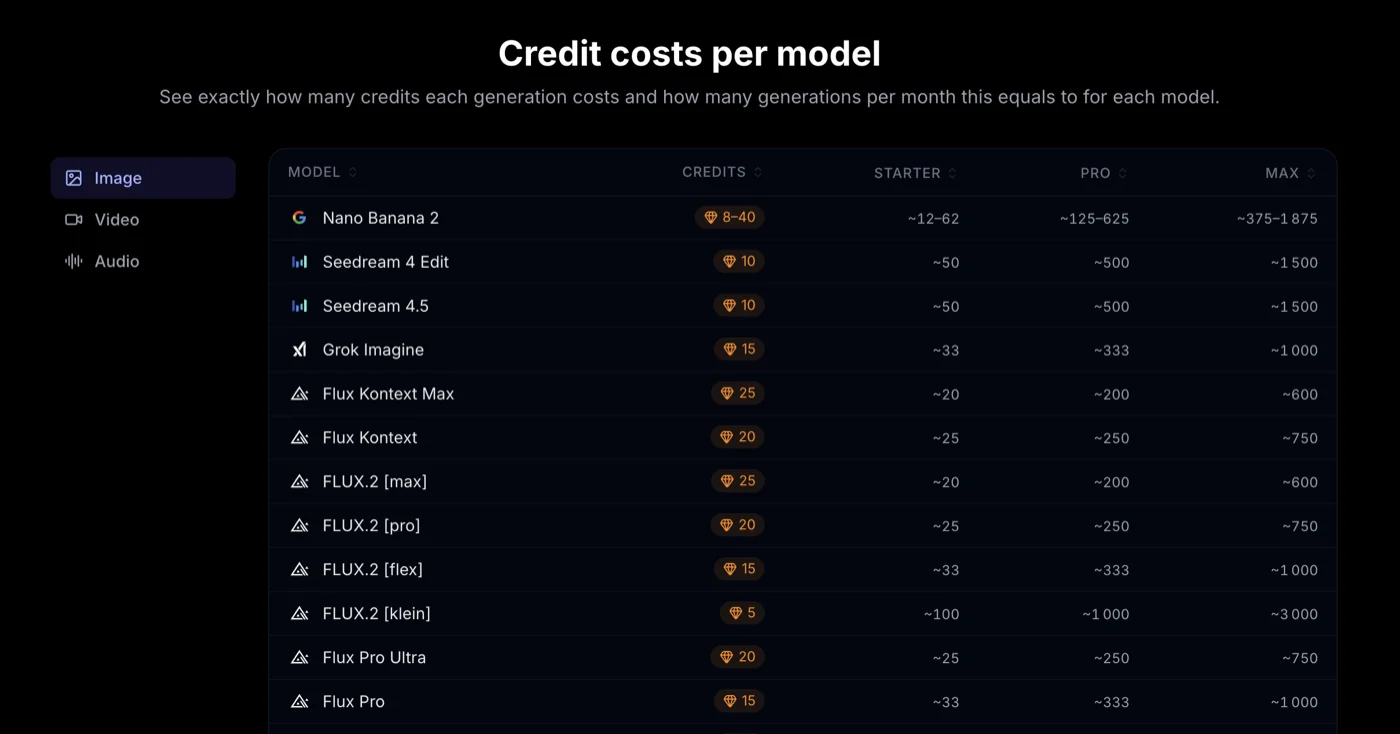 Credits & Pricing: How Melies Credits WorkUnderstand how Melies credits work for AI image and video generation. See costs per model, resolution pricing, and tips to optimize your budget. for full pricing details across all models.
What to Try Next
- AI Video Extender - Make a clip longer with prompt-guided continuation
- AI Video Generator - Explore the available video models
- AI Camera Movements Guide
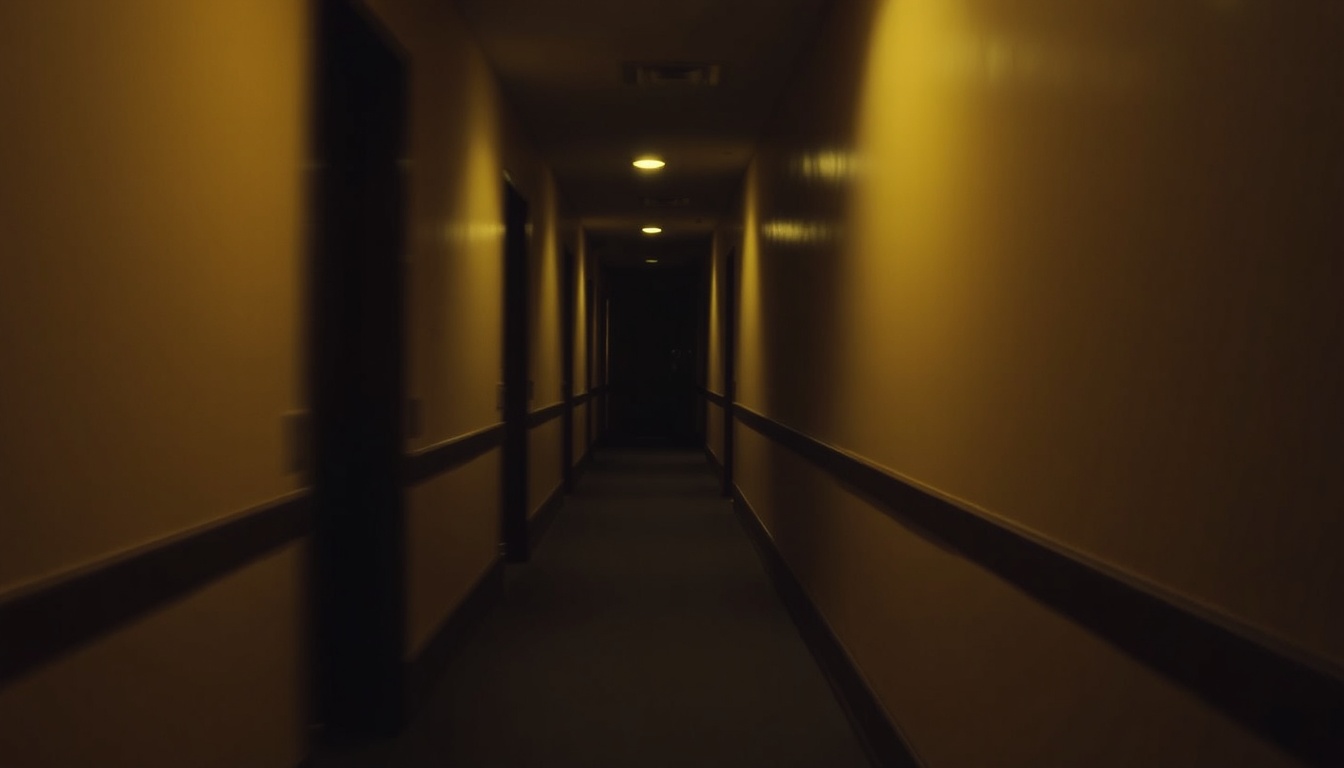 AI Camera Movements: Dolly, Jib & Cinematic PresetsMaster camera movement in AI video generation. Learn about Dolly, Jib, and Static presets on LTX 2 Pro, plus cinematic camera techniques for all models. - Master camera presets and techniques
 - How to Optimize Your AI CreditsHow to Optimize Your AI Credits on MeliesPractical tips for spending AI credits wisely on Melies. Learn which models to use for drafts vs finals, how to save credits, and get the most from every generation. - Spend credits wisely
- AI models guide
 AI Models Guide: Choosing the Right ModelCompare current AI image and video models in Melies. Choose the right model for filmmaking based on duration, resolution, features, and credit cost. - Compare models in detail